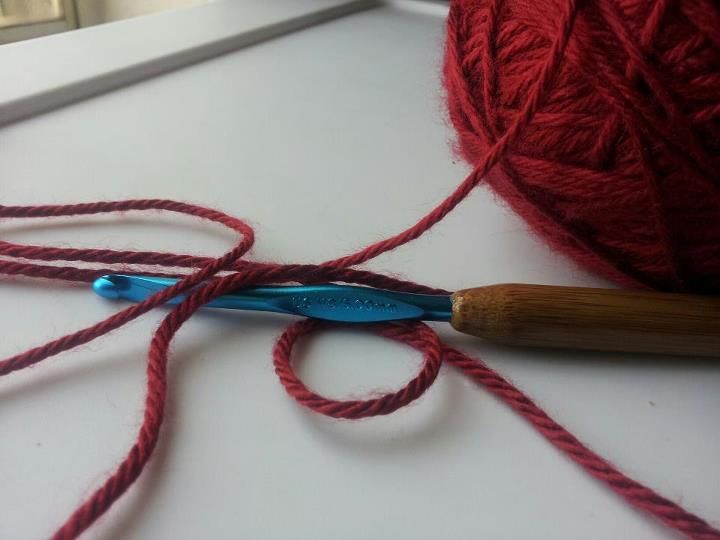
Tuesday, August 21, 2012

Easy Socks/Slippers


Here are some super easy slippers you can whip up in about an hour. Probably less for most people, I have an almost one year old to multi-task and play with. These make for great last minute gift ideas. Also, the featured slippers are made for a small footed woman. To make them for larger sizes, I'll indicate where you should continue on. You may also note that the back looks funny and as though your wee footums couldn't get in there. Trust me, it'll round out with maybe two uses. Jazzing these babies up is also a breeze!


What You'll Need:
A J crochet hook, and the color 
yarn that you prefer in medium
worsted weight. I'm using 
Red Heart's Coffee.

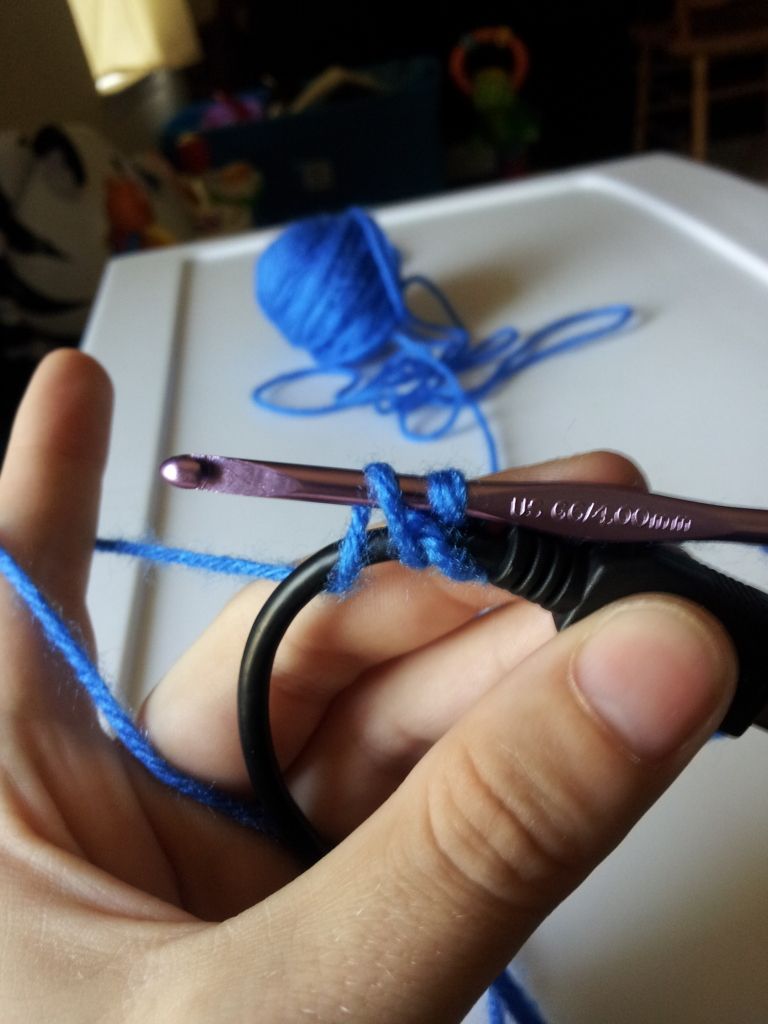
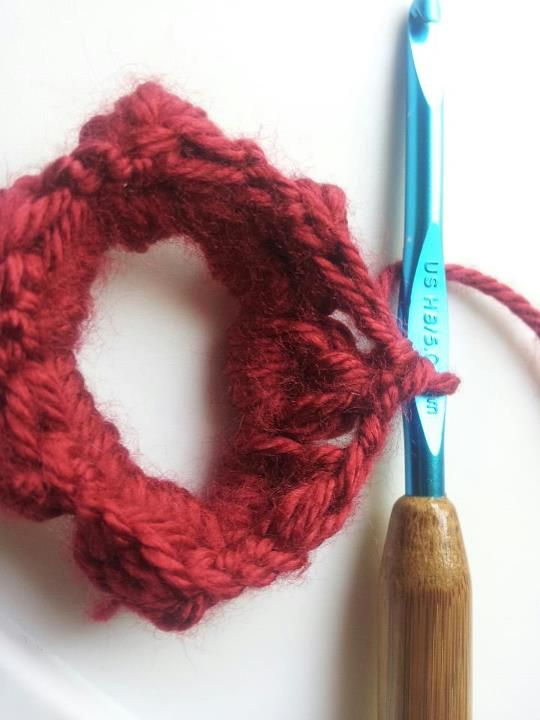
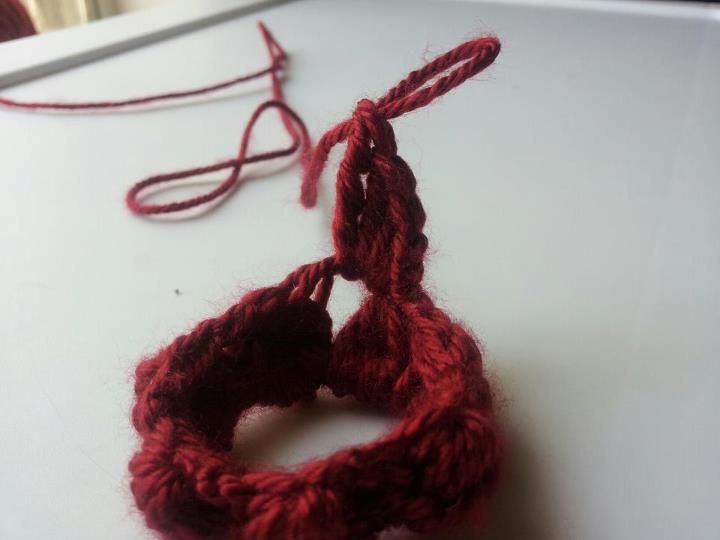
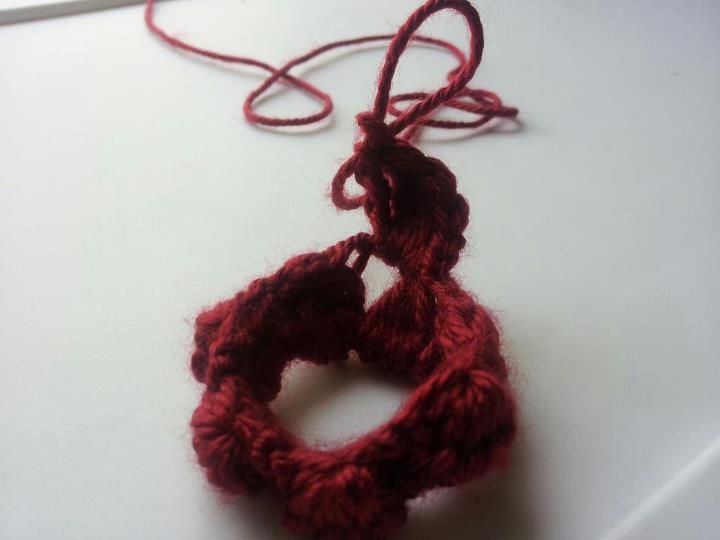
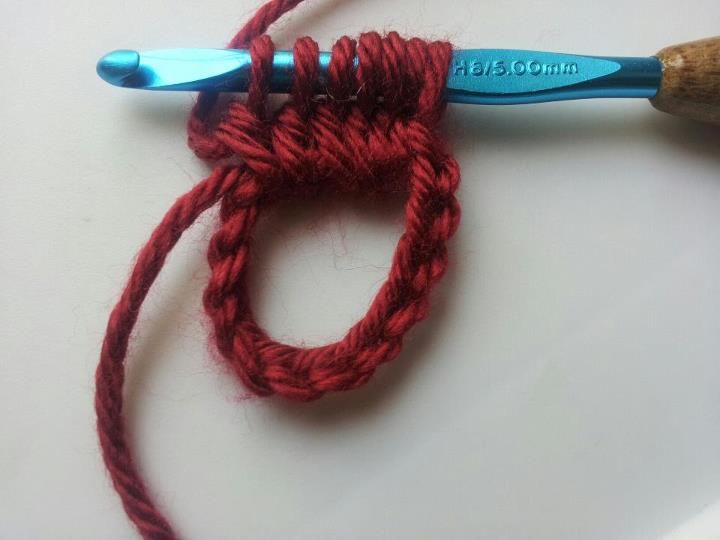
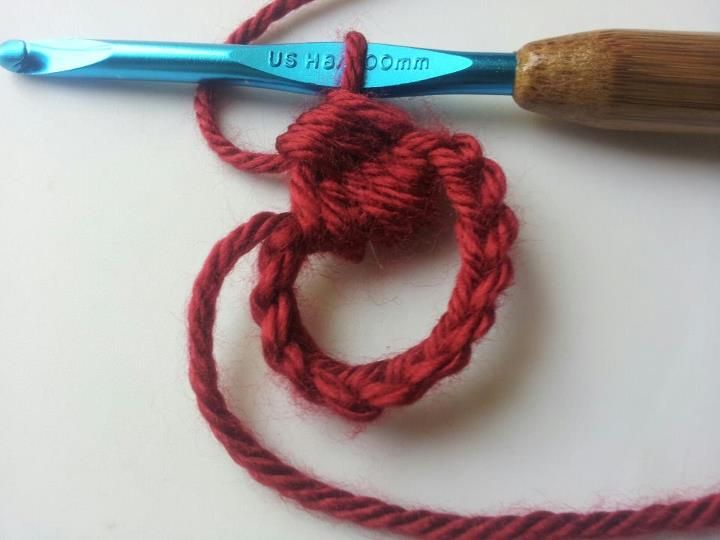
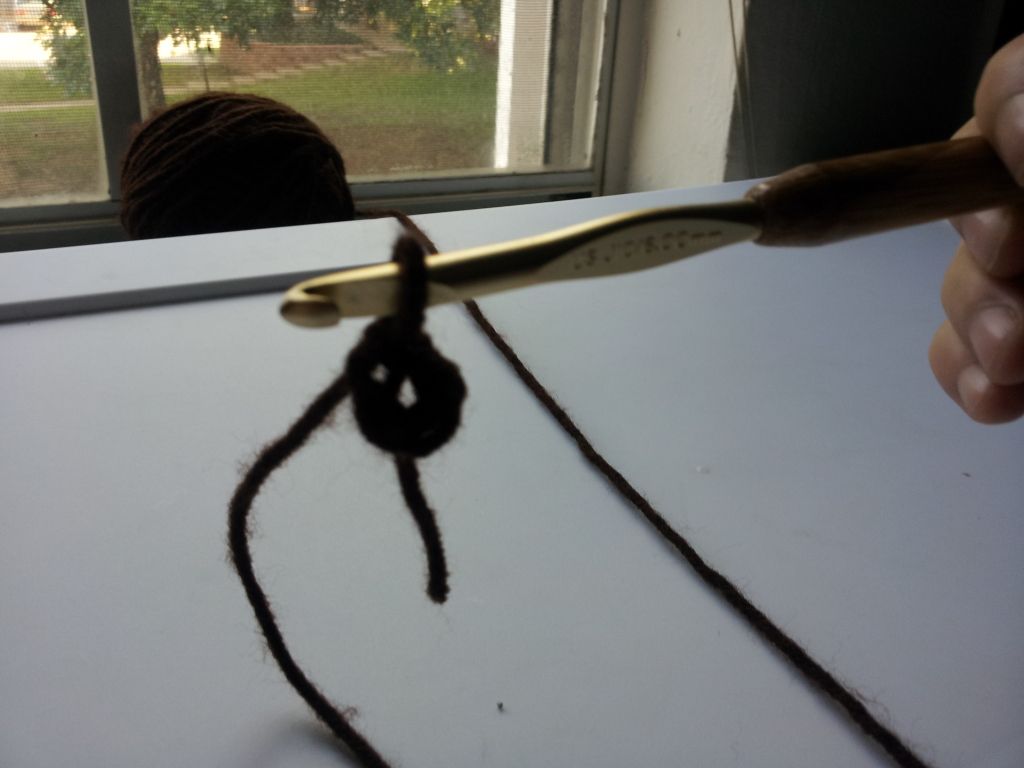
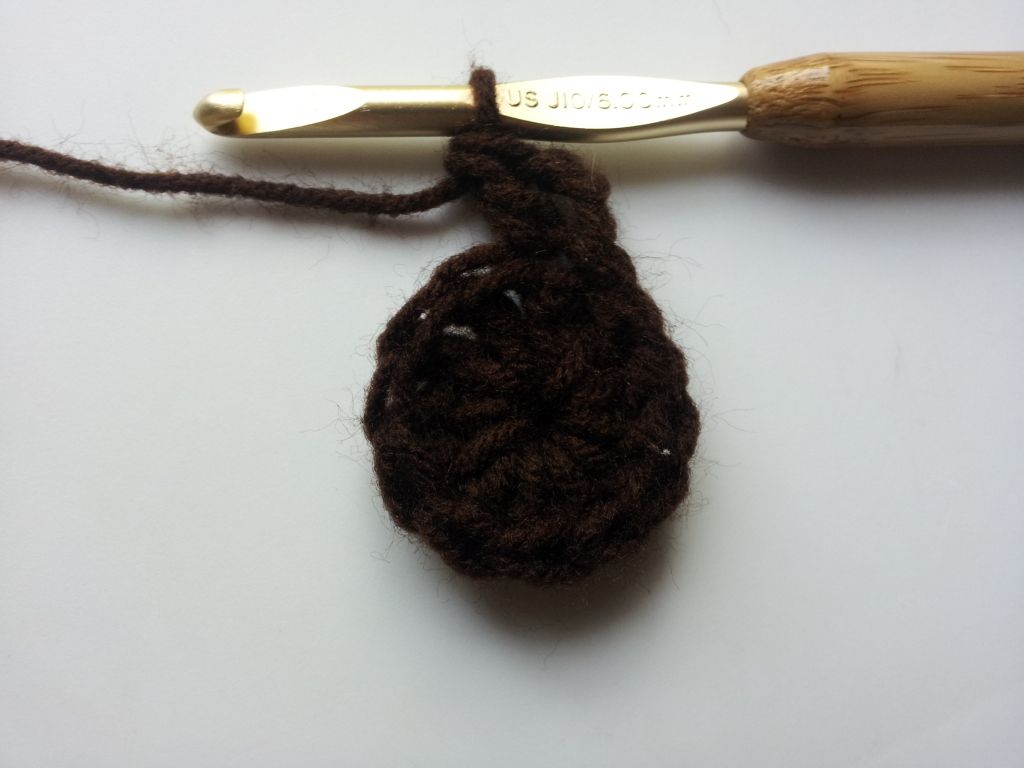
1. Chain 3 and slip stitch to join to
form a ring.
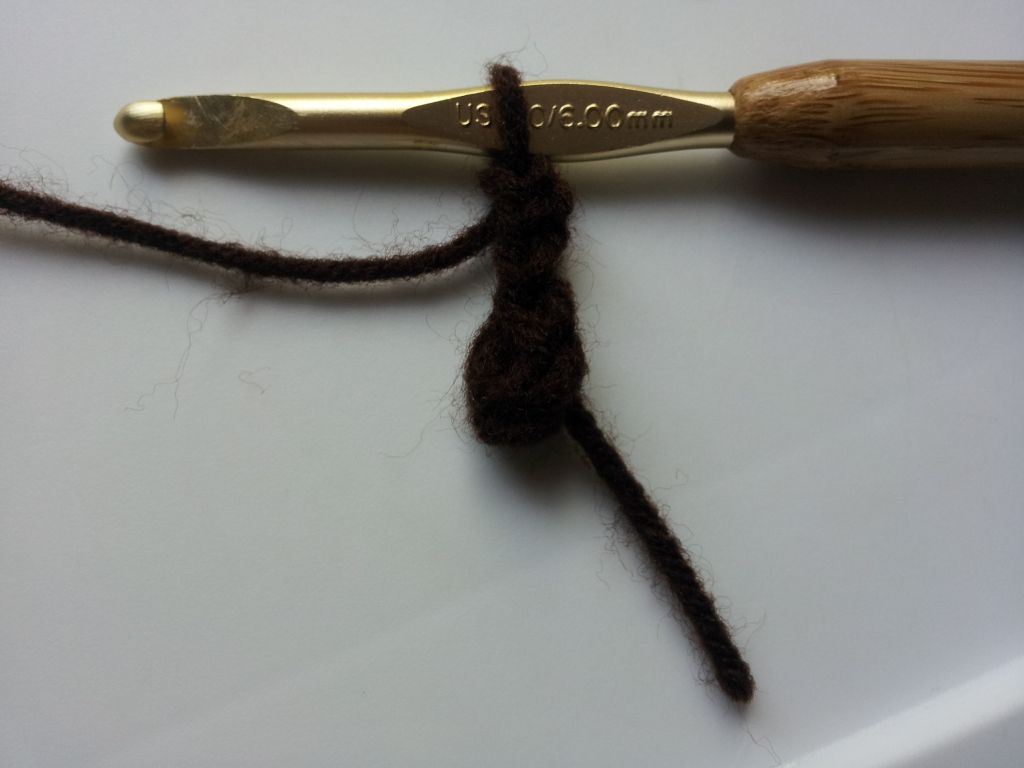
2. Chain 3 and add in 11 more
double crochet (13 total)

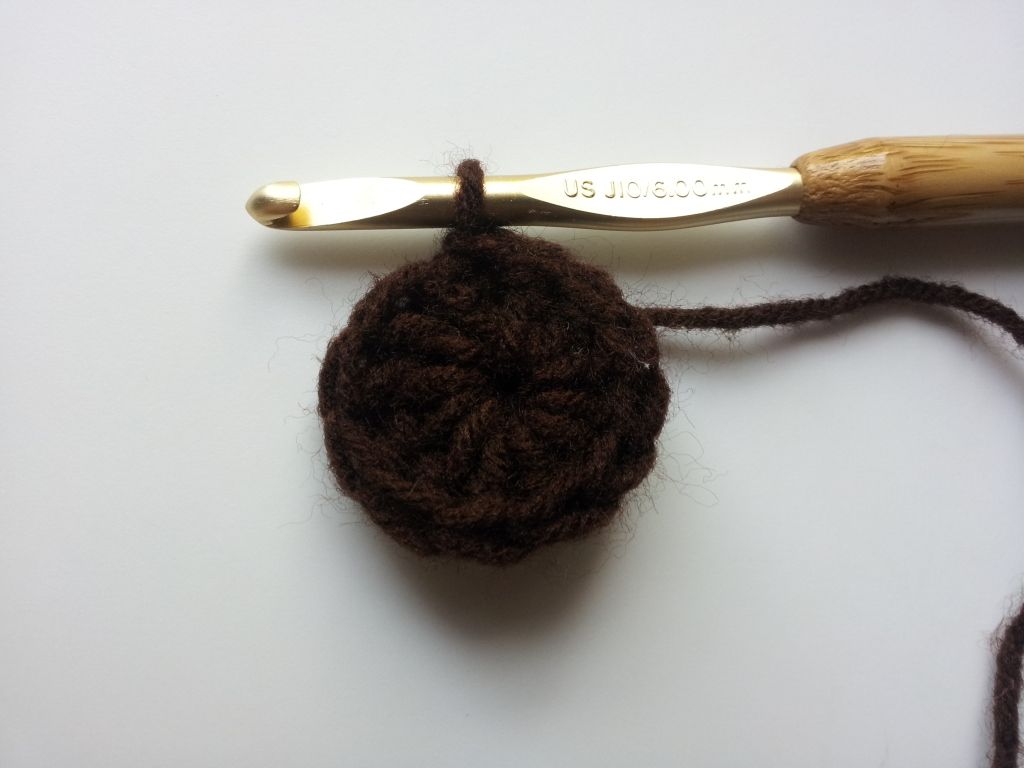
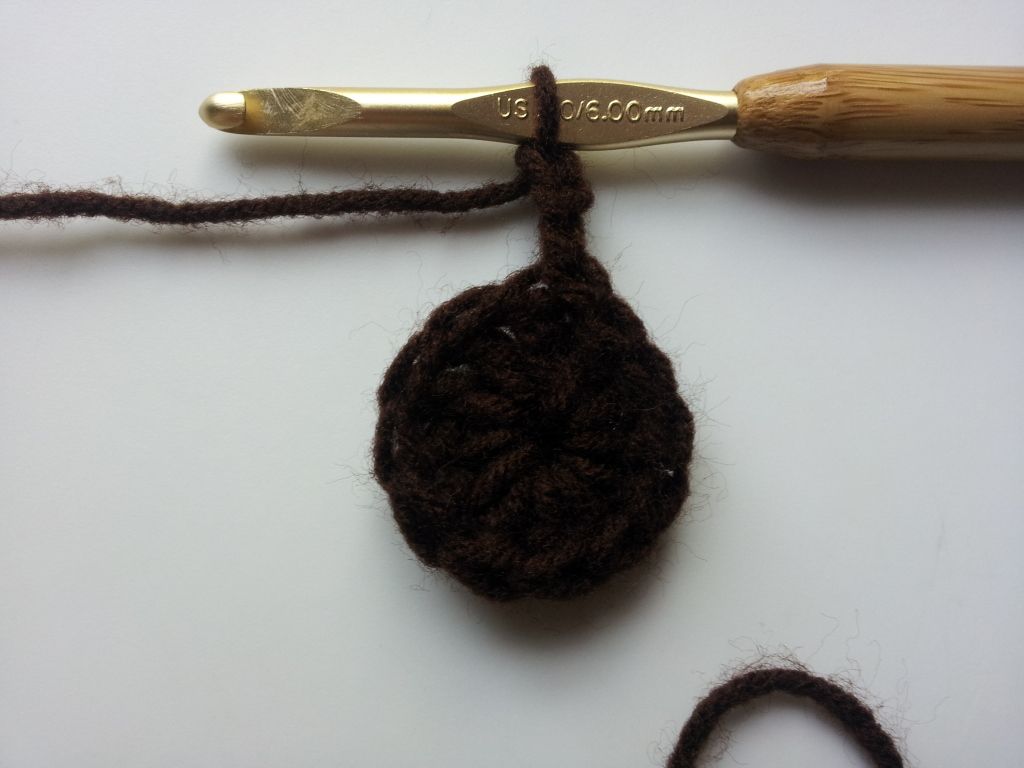
3. Chain up 3, double crochet in the 
chain 3 space, 2 double crochet
in every stitch around, slip stitch
to join. (24 in total)


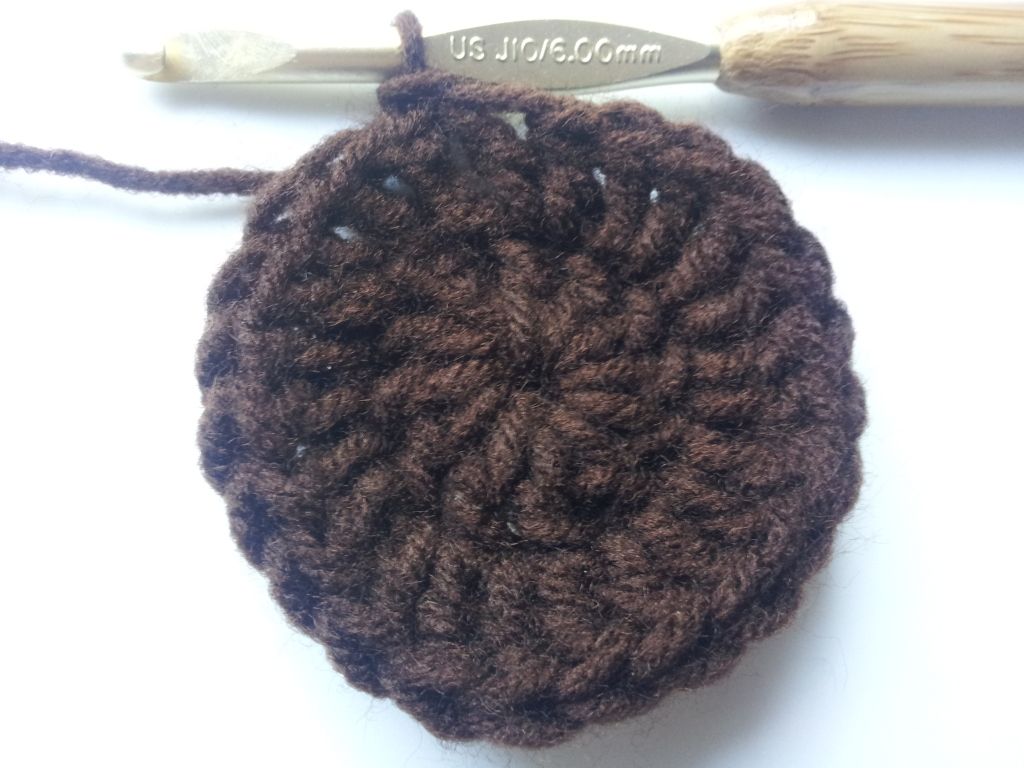
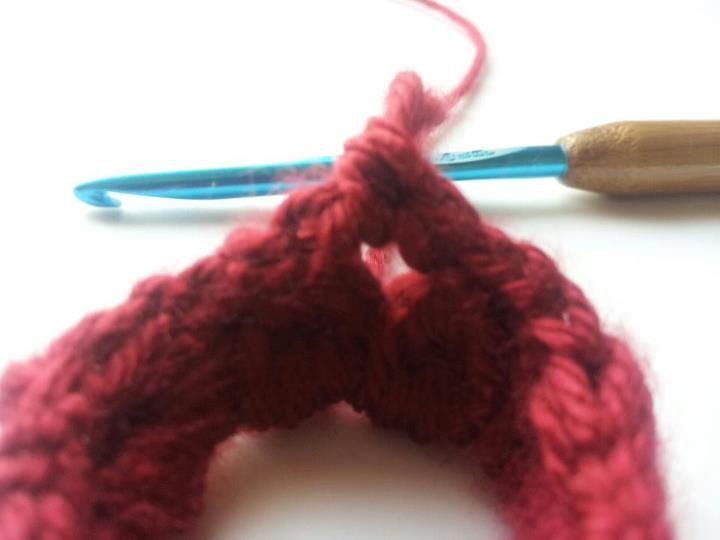
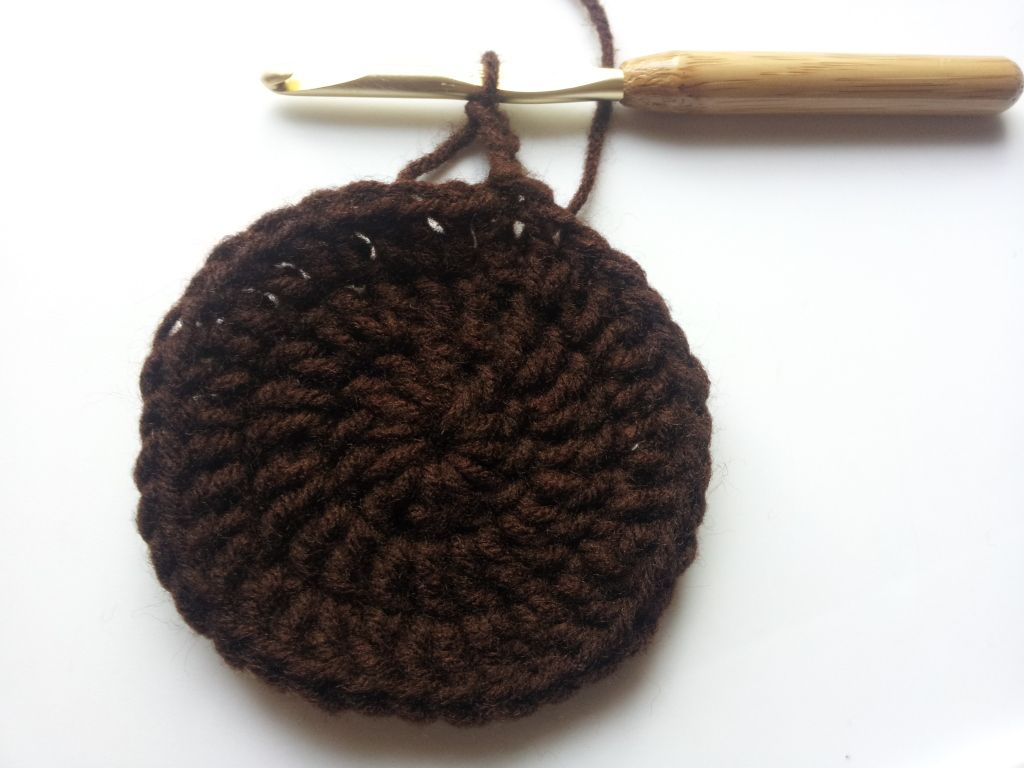
4. Chain up 3, in the next stitch add 
2 double crochet, 1 double crochet
in the next, repeat till the end of the
row, slip stitch to join (36 in total)

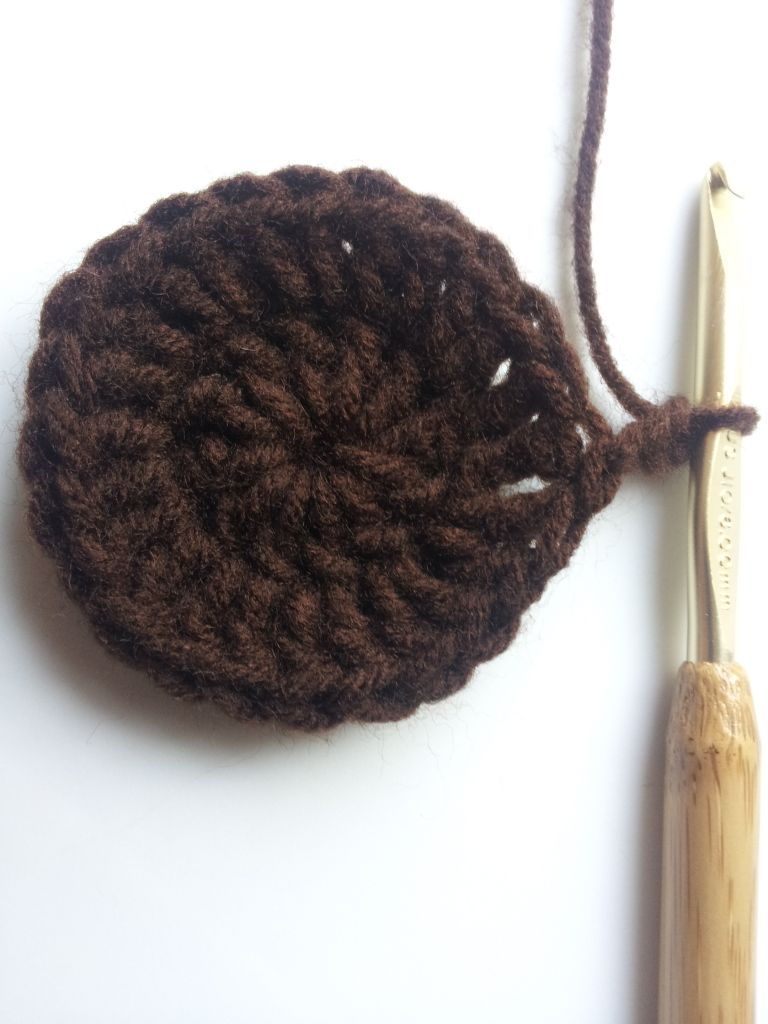
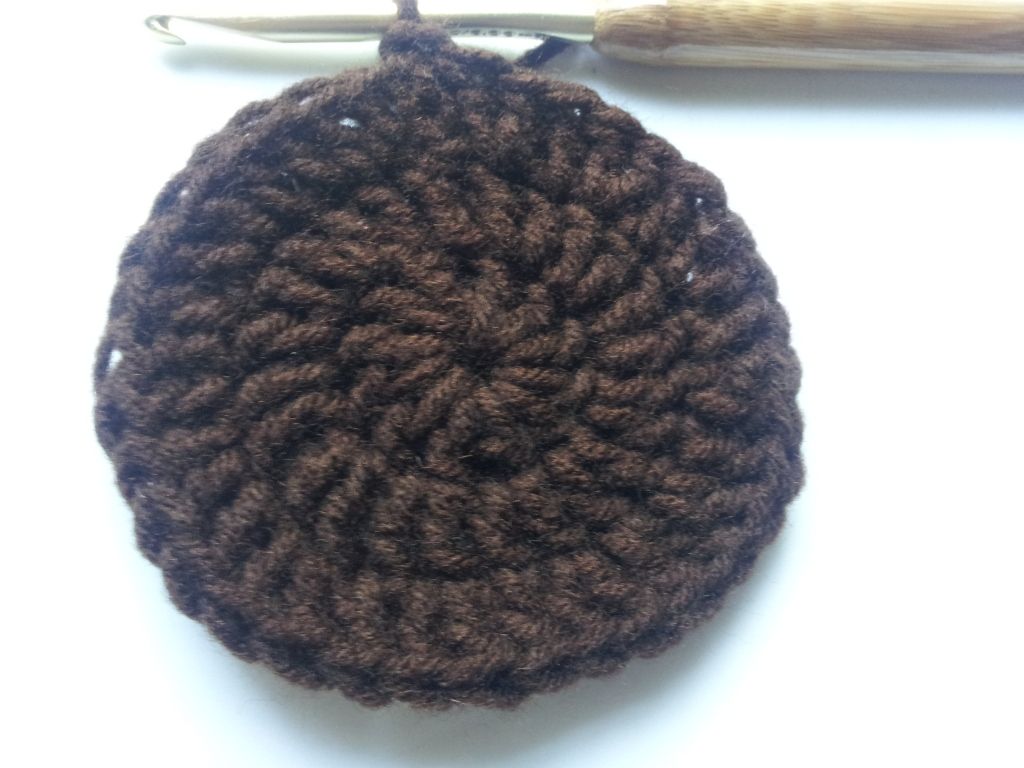
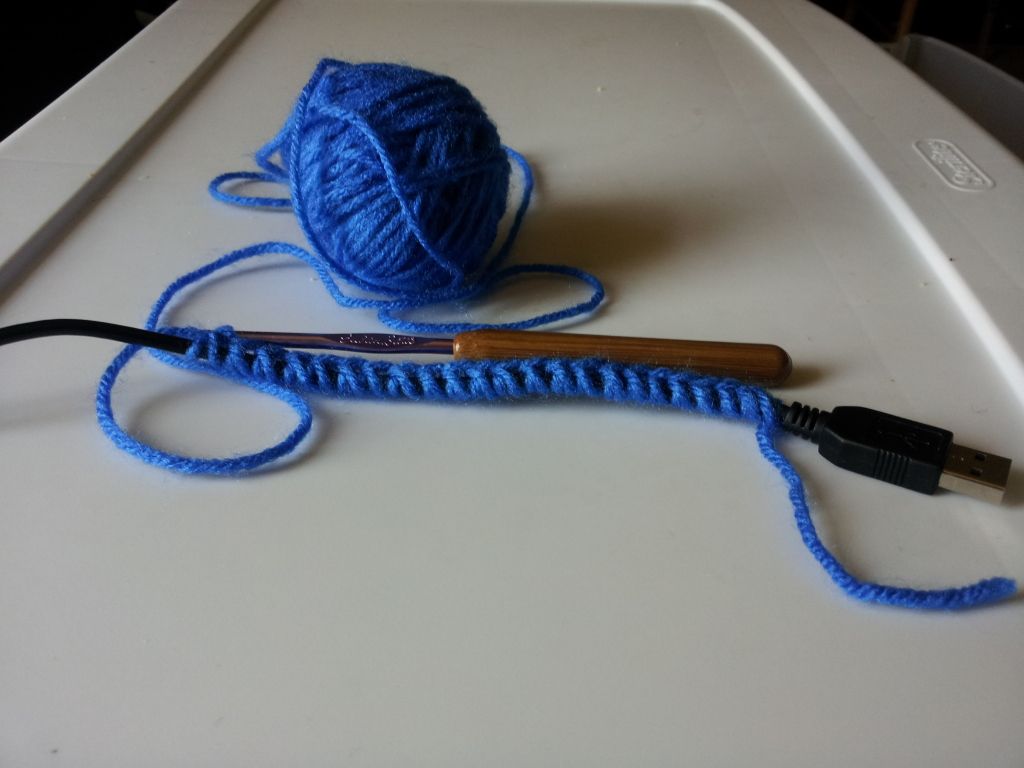
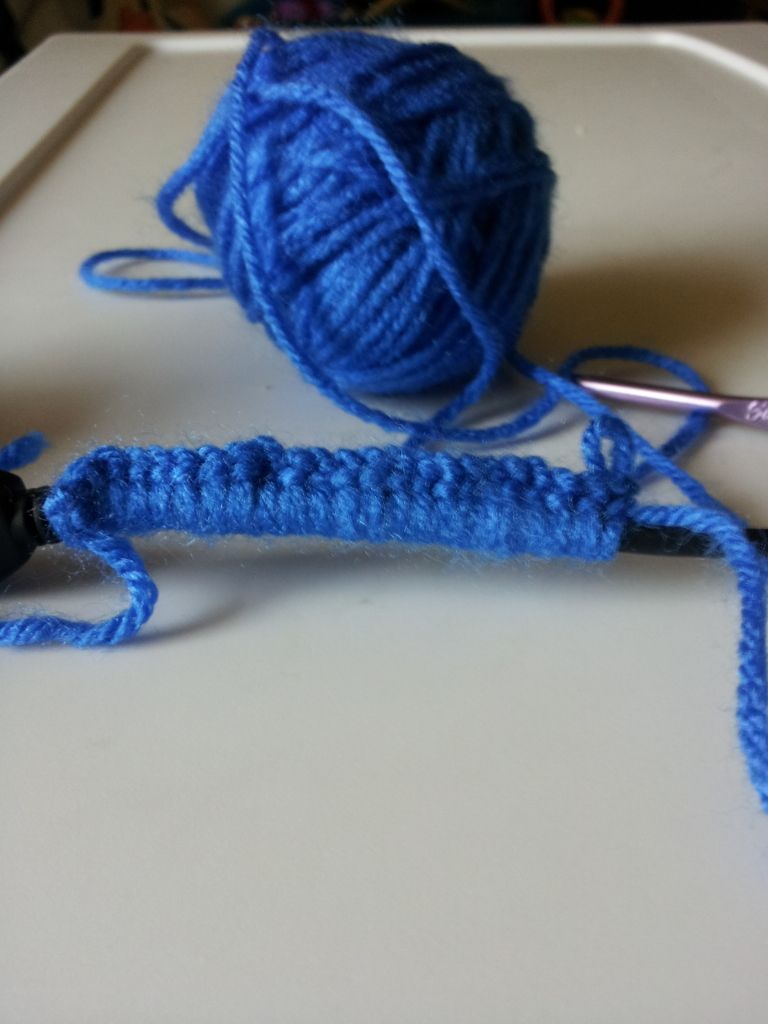
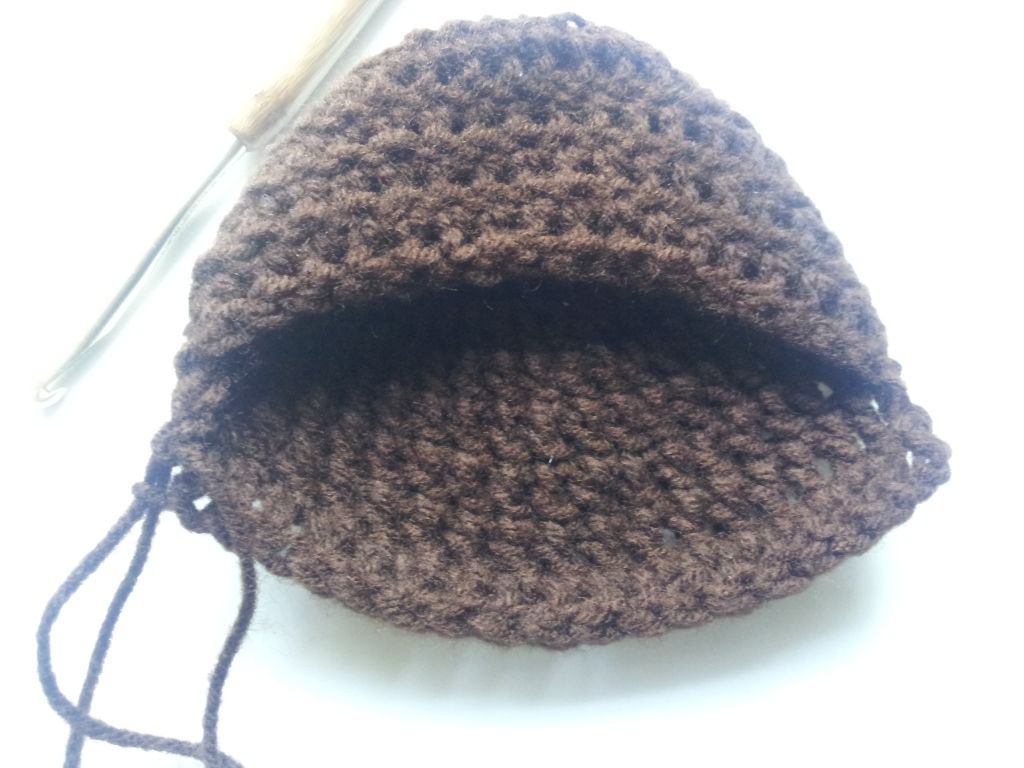
5. Chain up 3 and double crochet
into every stitch around, slip stitch
to join. Repeat for 5 rows. On most
feet this will com up to just about
the beginning of the toes. You can
easily keep going for more coverage.
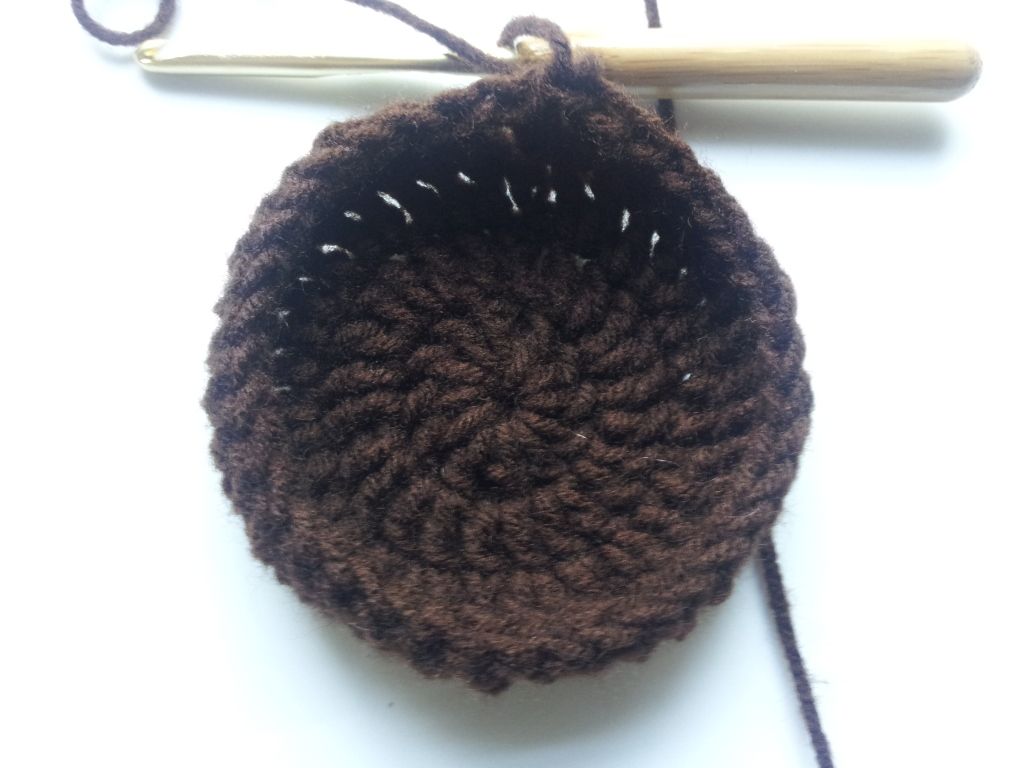
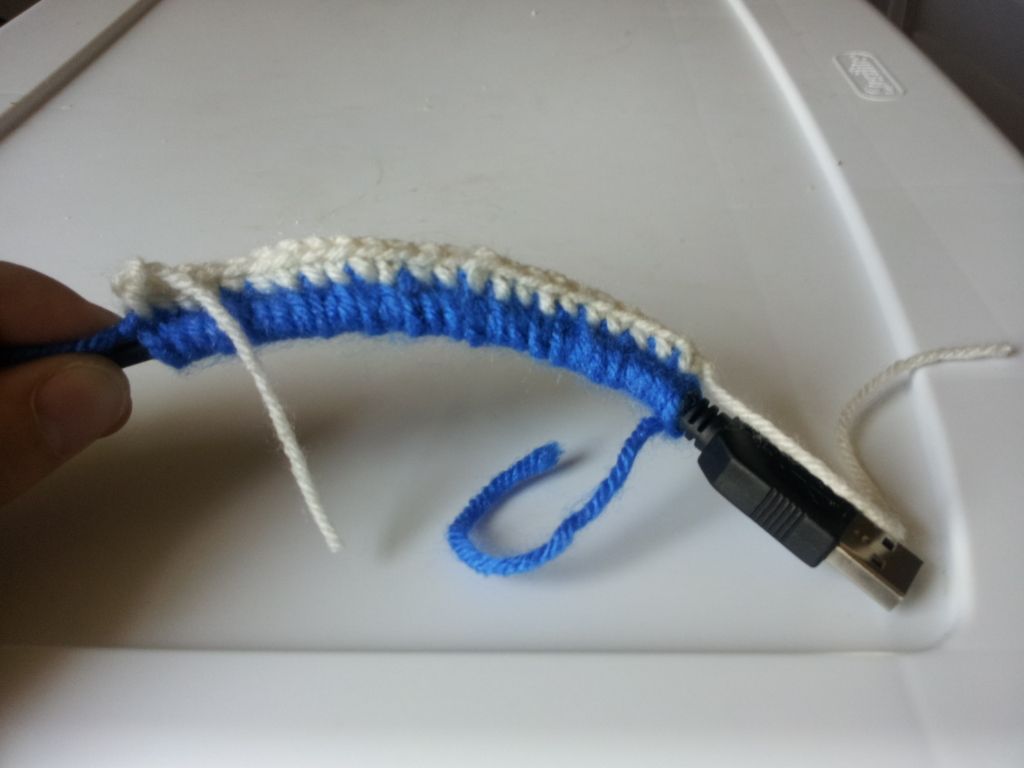
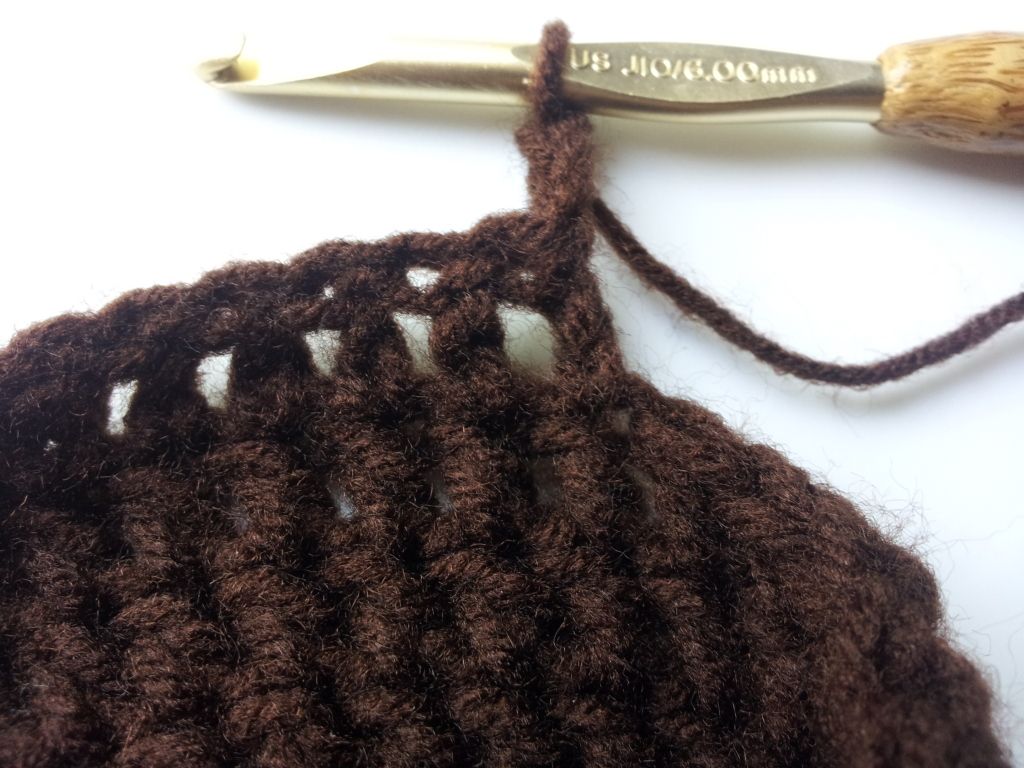
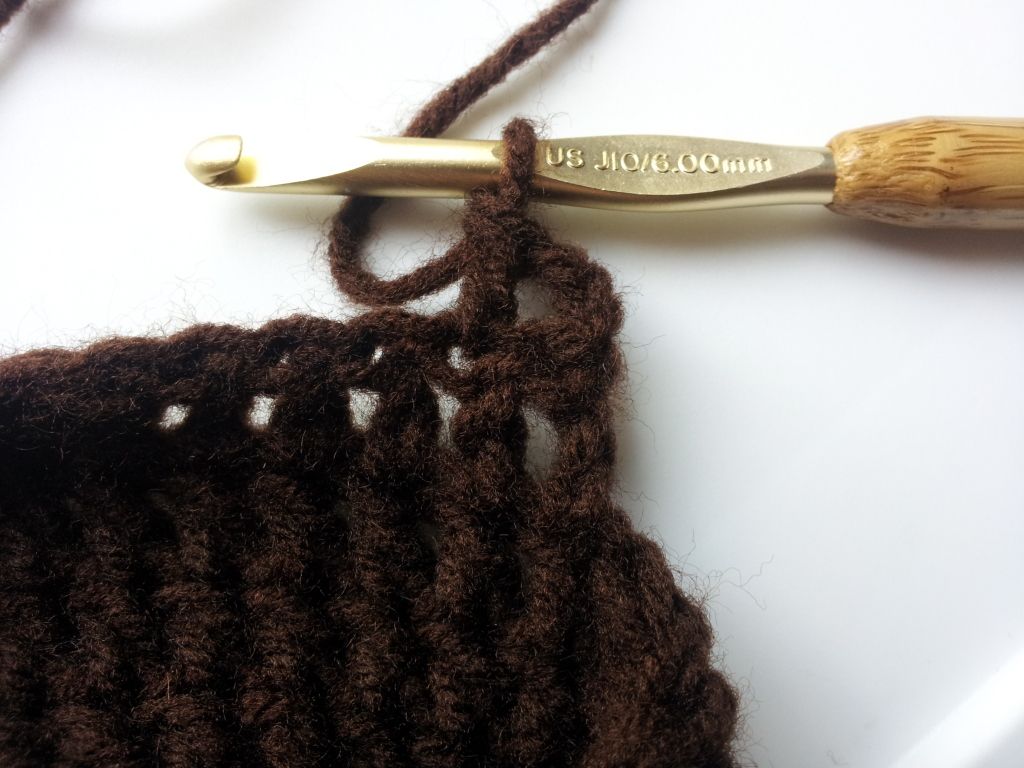
6. Chain up 3, Double crochet
into the next 20 stitches, chain
3, turn, skip the first stitch, and
double crochet in every stitch.
Keep on going until you've reached
the length you need. Aim a little bit 
shy of your heel since you do
require some tightness in order
too keep it on. You may also
add stitches to make the 
bottom piece wider.

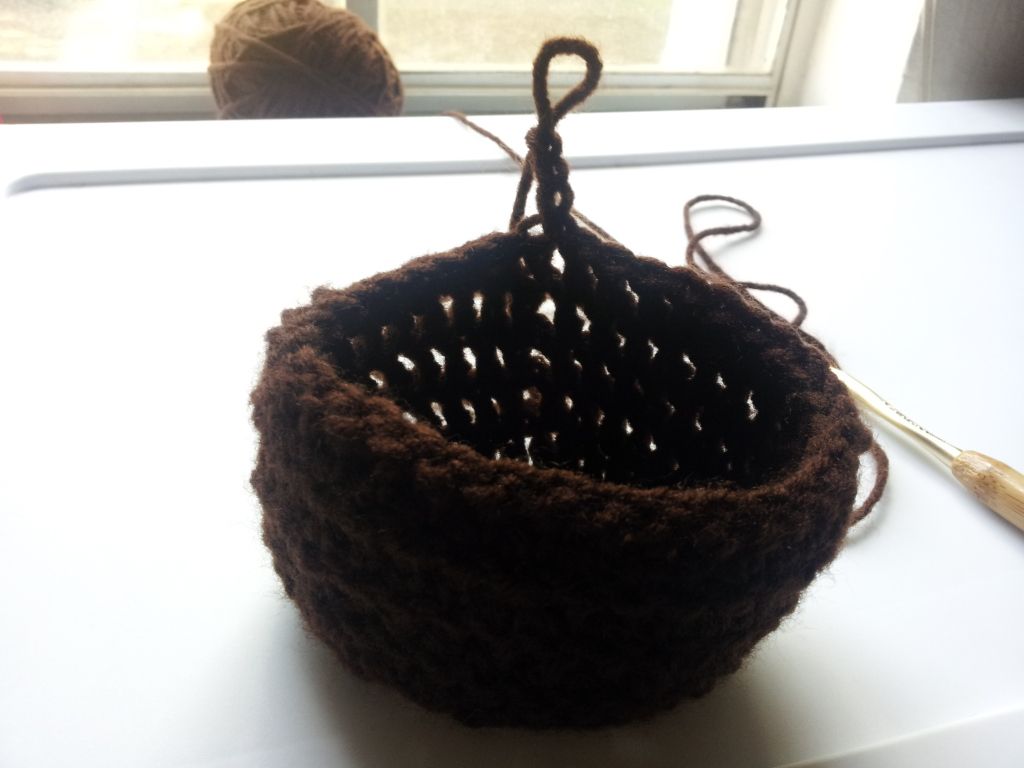
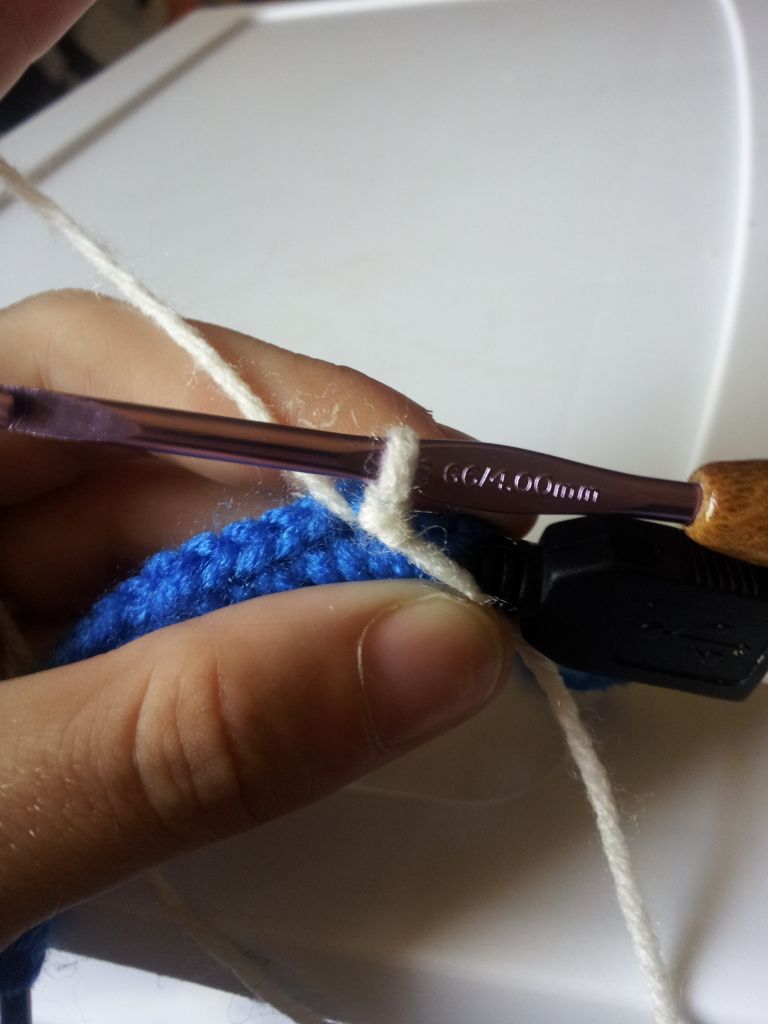
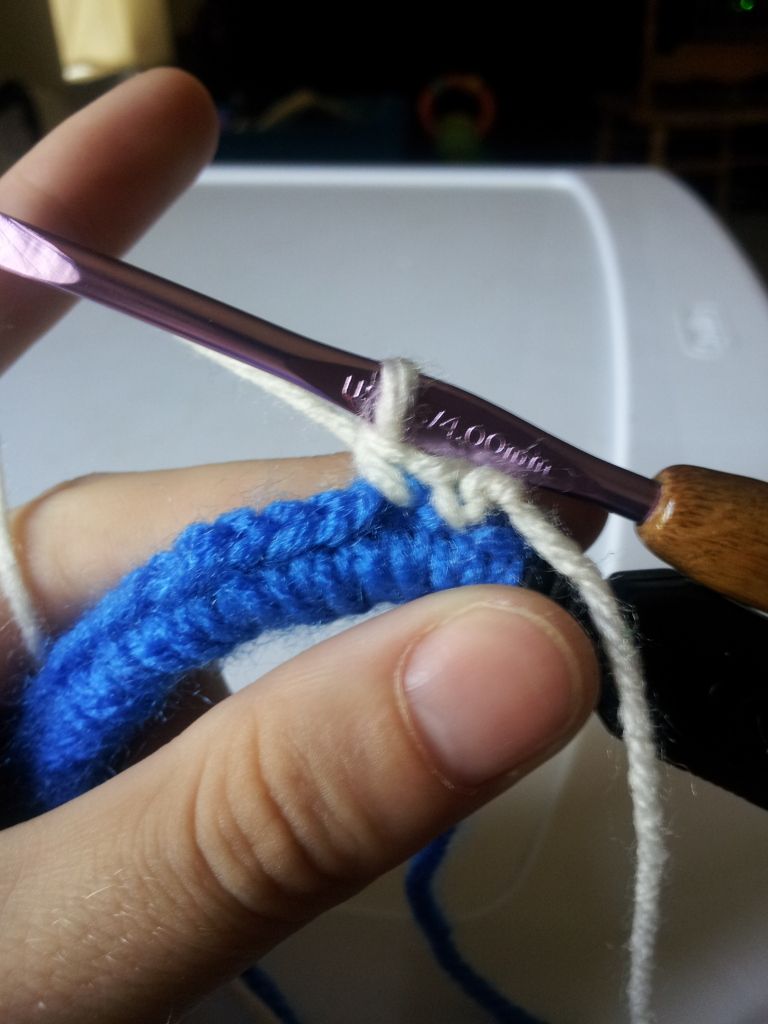
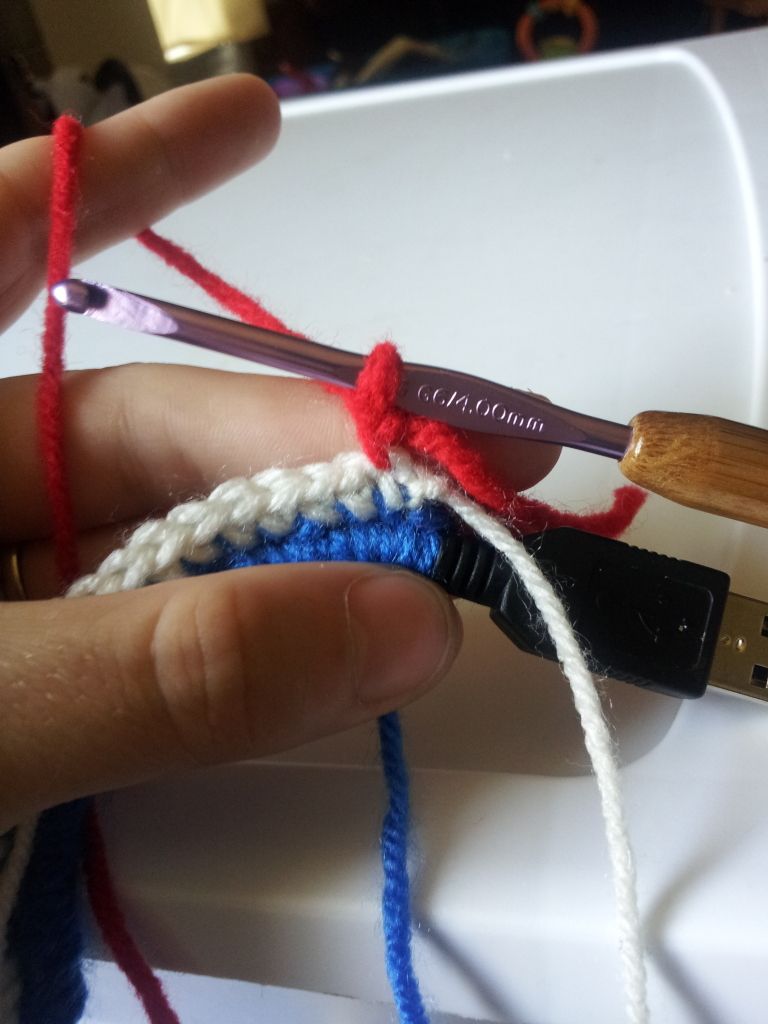
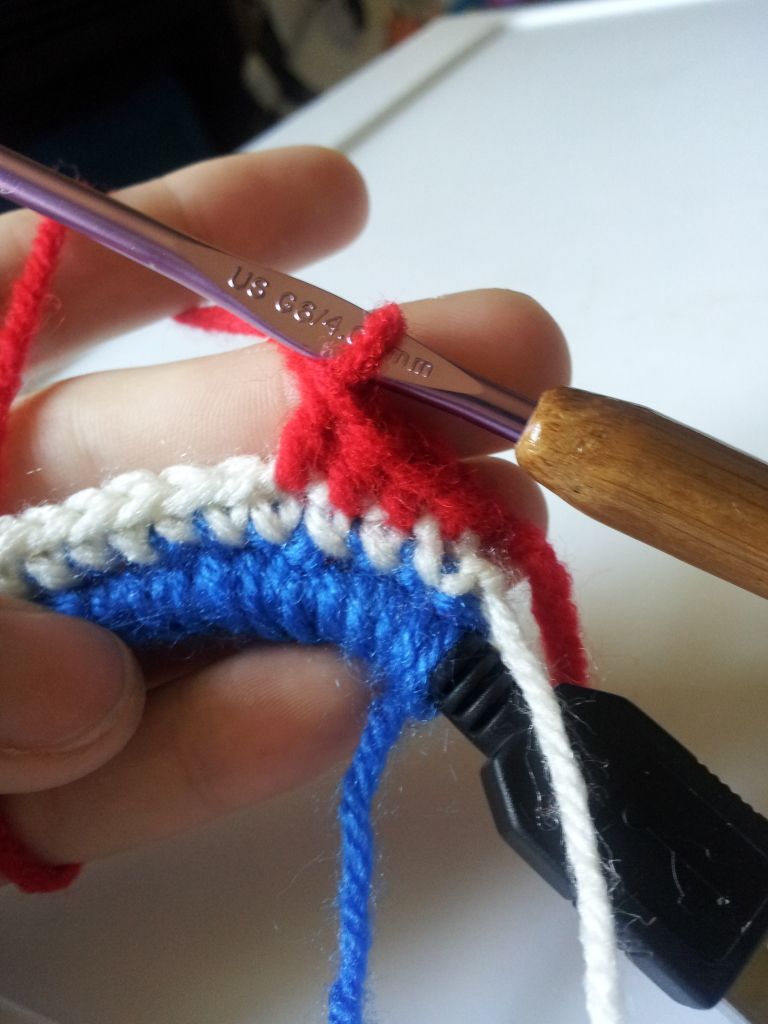
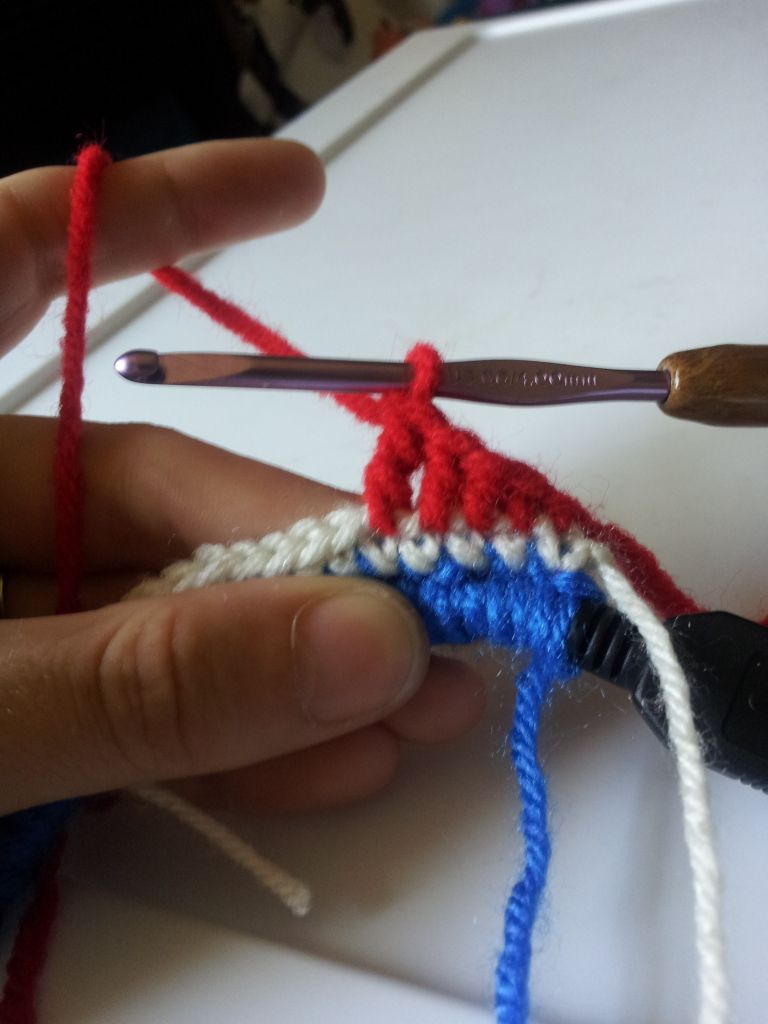
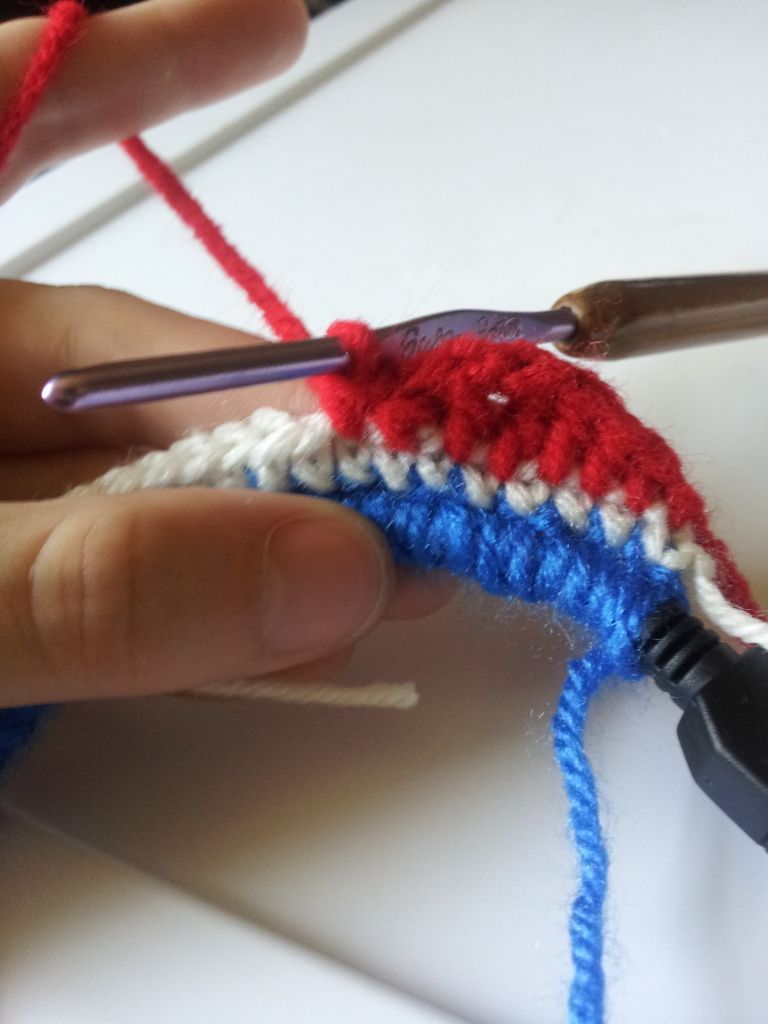
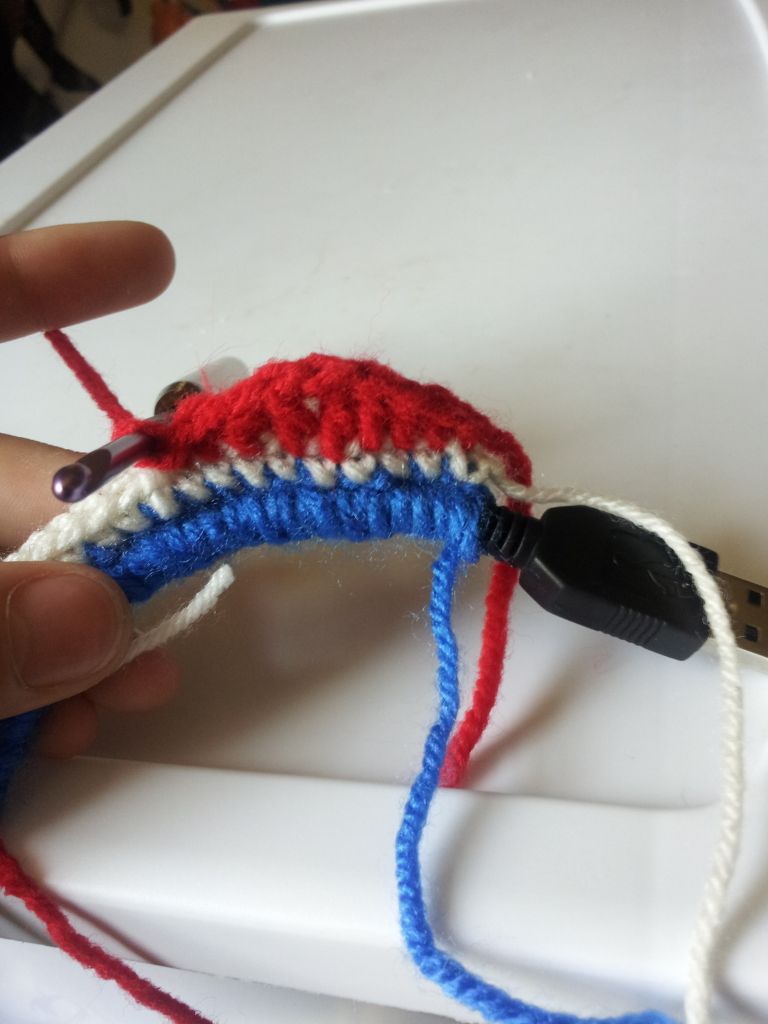
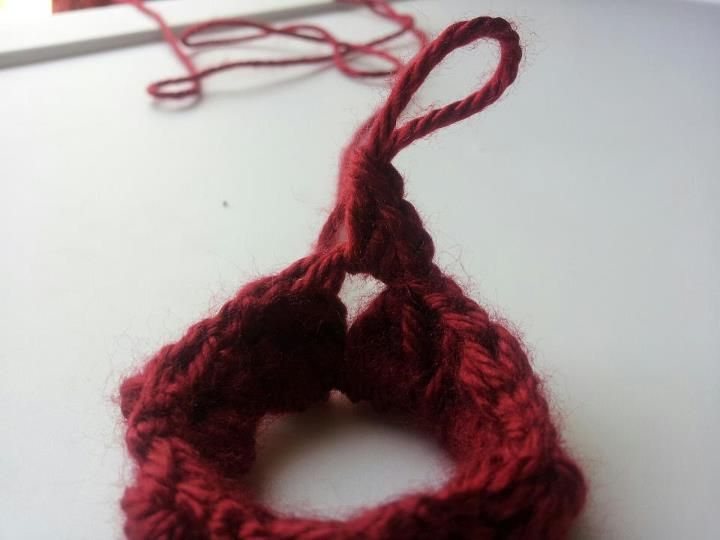
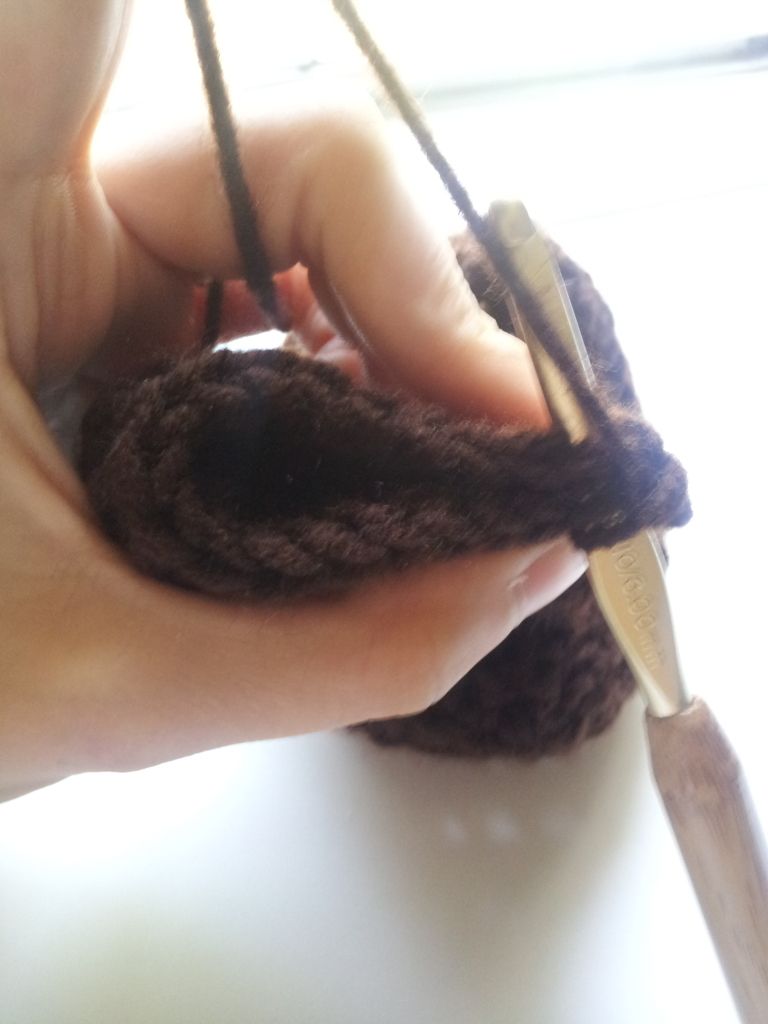
7. Now that  you have achieved the
length that you needed, pinch together
the two ends of the slipper. Get your 
hook under both of the top stitches
and pull your yarn through both of
those stitches and slip stitch. Go all
the way down and fasten off, my loves.


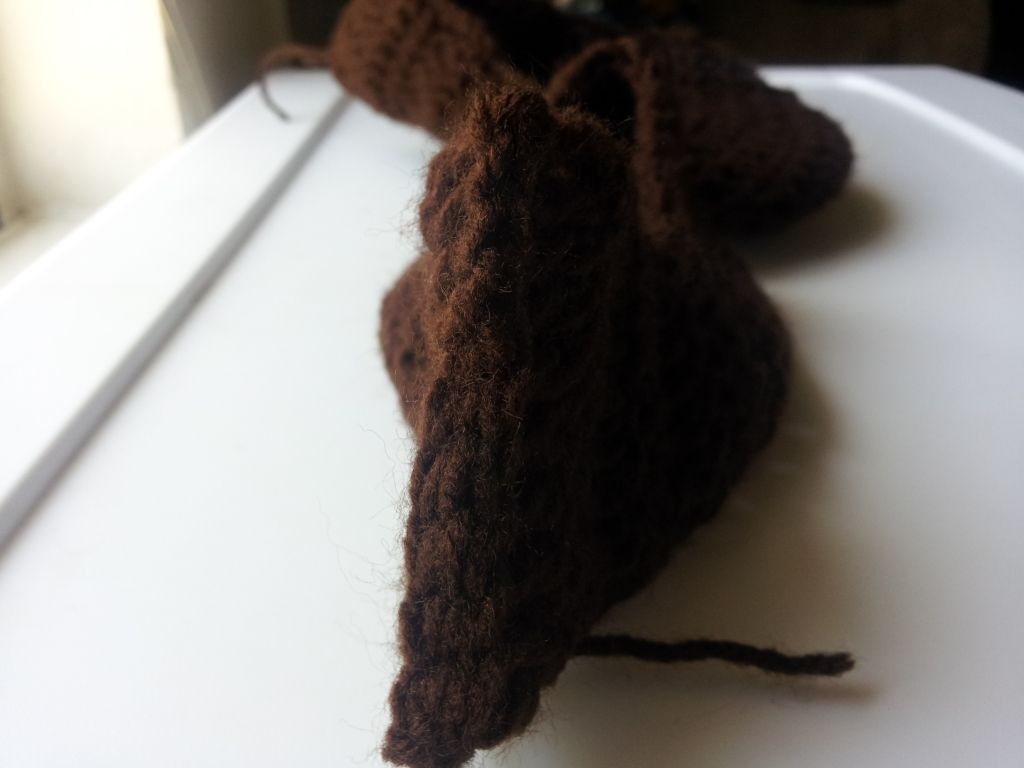
And there you have it! Easy, peasy slippers!
Hope you enjoyed the pattern, and as always,
Happy Hooking!


Wednesday, August 15, 2012

Crochet Charger Cover

Let us first begin with something obvious: I will not take responsibility for any one who burns down their dwelling space because they crocheted a flammable material over frayed wiring or too close to an outlet. Please, for the love of all that is common sensical, do not crochet over exposed wires and at least four inches away from both ends.
Aside from the a fore mentioned warning, this is a very simple pattern you can use to jazz up your charger and make easy to find. I am constantly misplacing mine or mixing it up with others. Of course, being the proud American that I am, I made it a patriotic red, white and blue.


What you'll need:
3 colors of yarn, a G crochet hook, and a charger cord.
I used Red Heart's red. white, and blue and a Susan Bates hook.


1. Make a slip knot in your yarn and put it over your
charger cord a bit loosely. Tuck your hook in, draw up a loop, 
and let that slip knot tighten. We're all set start now!


2. Now we're going to single crochet around the cord.
With your hook go around and behind the cord, grab
your yarn with your hook and bring it to the front
of your cord, yarn over and pull through both
loops like you would for a normal single crochet.
Go along till you've reached the length you need.


3. Now push you stitches together so that
there aren't any open spaces. This is
optional, but I liked the scrunchy look.


4. Now attach your second color, in this case white.
To do so, slip your hook into the top of
your first color's slip knot. Now put your slip knot
in your second color of choice on your
hook and pull it through. Chain up 1.


5. Now single crochet along your initial color.


6. Now attach your third color. 


7. We'll be crocheting the following in sequence:
Single crochet, half double crochet,
double crochet, triple crochet,  double
crochet, half double crochet, single crochet down 
the length of our work.


And all the way back down.


8. Now slip stitch into the next stitch into
the next stitch and continue along your
merry little way.


And there you go. Make sure you push your work several inches away from the connective ends of the cord (Clearly, I didn't do this in the depicted photo because I wasn't completely finished.). I do not recommend this pattern for any one with small children. Why, might you ask? Because it draws attention to your outlets! So watch out, Mommies! Enjoy, and happy hooking. 

Crochet Anna Flower


Here's another great flower! It looks to me like a blooming flame with some attitude! It's adorable the way the petals lay flat, but the bobble stitches give it a slight raise for subtle three dimensional look. Very sassy, indeed. This flower pattern is slightly more advanced as it requires bobble stitches and the double triple stitch. It sounds like the computer jargon aliens would come up with at first to beginners, but I promise you that is incredibly easy!


Here's what you'll need:
A ball of yarn and an H or 5.00 mm hook.


1. Chain 12 and slip stitch in the 
first chain to form a ring.


2. Bobble stitch and chain 3 seven times.
Don't know how to bobble? Hakunah 
Matata, I'll break it down for you. 
Scroll down for a super quick 
description of the bobble.

3. In the first chain 3 space between 
the bobbles, we're going to do as 
follows: Single crochet, half double
crochet, double crochet, triple 
crochet, double triple crochet, 
triple crochet, double crochet, half
double crochet, single crochet. Yes,
it all fits in there, and yes, you and I
are going to do this photo by photo
together.


4. Half double crochet in the 
chain 3 space.

5. Double crochet in the 
chain 3 space.


6. Triple crochet in the 
chain 3 space.

7. Double triple crochet in the 
chain 3 space. (Wrap 3 times, and
pull through 2 loops at a  time)


8. Now just work the same concept
backwards. After the double triple,
add in a triple, a double, a half
double and a single. Do this for
every chain 3 space between the
bobble stitches.


And there you have have it! The Anna Flower. I most recently made this for a hair clip for myself. (Rare to crochet for myself!) Hope every one enjoys, and as always, happy hooking!


(Keep scrolling for a quick bubble tutorial/description.)


Thought I forgot and wouldn't keep good on my promise, didn'tcha? Well, ha, fooled ya! That bobble is extremely simple once you Lay-Man-Ize it.

All the bobble stitch is is a serious of incomplete double crochets. So, yarn over, and pull up a loop through the chain. We now have three loops chillin' on our hook. now, yarn over and pull through two loops like you would with a double crochet, but STOP THERE! Like I said, it's a series of incomplete double crochet, so each time, you should be left with another loop added to the collection on your hook. Eventually, you'll have six loops snuggled together on your hook. At that point, yarn over and draw through all them bad boys. Still sound weird? It is at first, but here are some pictures to help guide you.


See how they're all just hanging around, waiting for the hook to pull through? 
They really do look like little unfinished double crochet.


And there it is, all tidily finished. 
That wasn't so tough, was it!?
Happy Hooking!